
Hi! This is Wendi and I'm this month's guest presenter for the ECMQG Block Lottery. This month we'll be making this You've Got Mail block. The block is a simple paper-pieced affair, and is super easy.
It. Is. NOT. Hard.
Promise!
I'm not a huge fan of paper-piecing, but I admit that it has its place - and this is one of them. Paper piecing is great when you want to create a block with some crazy intricate shapes that don't lend themselves very well to the geometric shapes we quilters usually piece.
This version of the pattern is called You've Got Mail! (which actually made me want to fire up the old VCR and pull out the flick with Tom Hanks and Meg Ryan.) Other versions of the pattern are called Envelope Block and Love Letters. I'm sure it has other names. Some of them may be free, but this one is not. The pattern is available here on Craftsy at a cost of $3.00.
Prepare and print the pattern:
The pattern is available in both 10" and 6" sizes and both come with your purchase. Having the blocks available in two sizes makes it possible for us to play with scale. The 6" block would naturally lend itself to smaller fussy cut designs than the 10" block, right?Oh - what is fussy cutting? I'm glad you asked. Fussy cutting is when you use only the graphic portion of the fabric design you choose, rather than cutting your design randomly. That way, you can use the exact image you wish. It's a little wasteful (says the fabric miser), but it's super fun!
So, decide which size you want to make - or make both. The 6" size will print on one sheet of paper. You will have to join the sections of the 10" pattern, which will print on 2 sheets of paper. If you haven't had experience with printing your own patterns, here's a brief run-down.


Choose your fabrics:
The photos below are of the 10" block I made, but the instructions are exactly the same regardless of which block you choose to make.You will need four fabrics to create this design. You may use scraps, but be sure that the pieces fully cover the entire section of the pattern they are to cover, with a bit to spare. I am descended from a long line of fabric misers, but I have learned the hard way that the smaller the piece, the more likely it is that your fabric won't cover the area, and then you will become very friendly with your seam ripper. Don't try to skimp on fabric when you are paper piecing - you will only cause yourself grief.

I suggest that you first choose the fabric you want to fussy cut for the center of your envelope. I chose Mermaids from the Heather Ross Mendocino reprint for my large block.

Next, notice that each section of your pattern is numbered. You will construct your envelope in the order of the numbers. First, the seamline between A1 and A2, then between A2 and A3, etc. Now, choose coordinating fabrics for the "glue" (sections A4 and A2), and the "outside of the envelope" (sections A3, A5, A6, A7 and A8.) Please use Kona White or Bella White (#98) for the borders (Sections A9, A10, A11, and A12.)
Make the block:

Locate the area of the pattern that says A1 (the large area in the center of the pattern). This is the area your fussy cut fabric must cover, with a 1/4" margin all the way around.
Now locate the area of the block that says A2 (the "glue" area on the right side of the envelope.) The line between A1 and A2 will be your first seam line.

Make sure your fussy cut fabric fits in the area marked A1 with at least 1/4" all the way around. Place your pattern face down on your sewing table. Place the WRONG side of your fabric on top of Section A1.
I used pins here to help me take the picture, but unless you need them, I don't recommend using pins because they can distort your seams. If you need pins, make sure they are on the printed side of your pattern. Some people like to use a bit of glue stick to hold their fabrics in place, but that does have the disadvantage of making the paper harder to remove.
Holding your pattern and fabric up to the light may help you to position your fabric more easily.

Once again, looking at the fabric and pattern through a bright light may help you see that the fabrics are in the correct position.

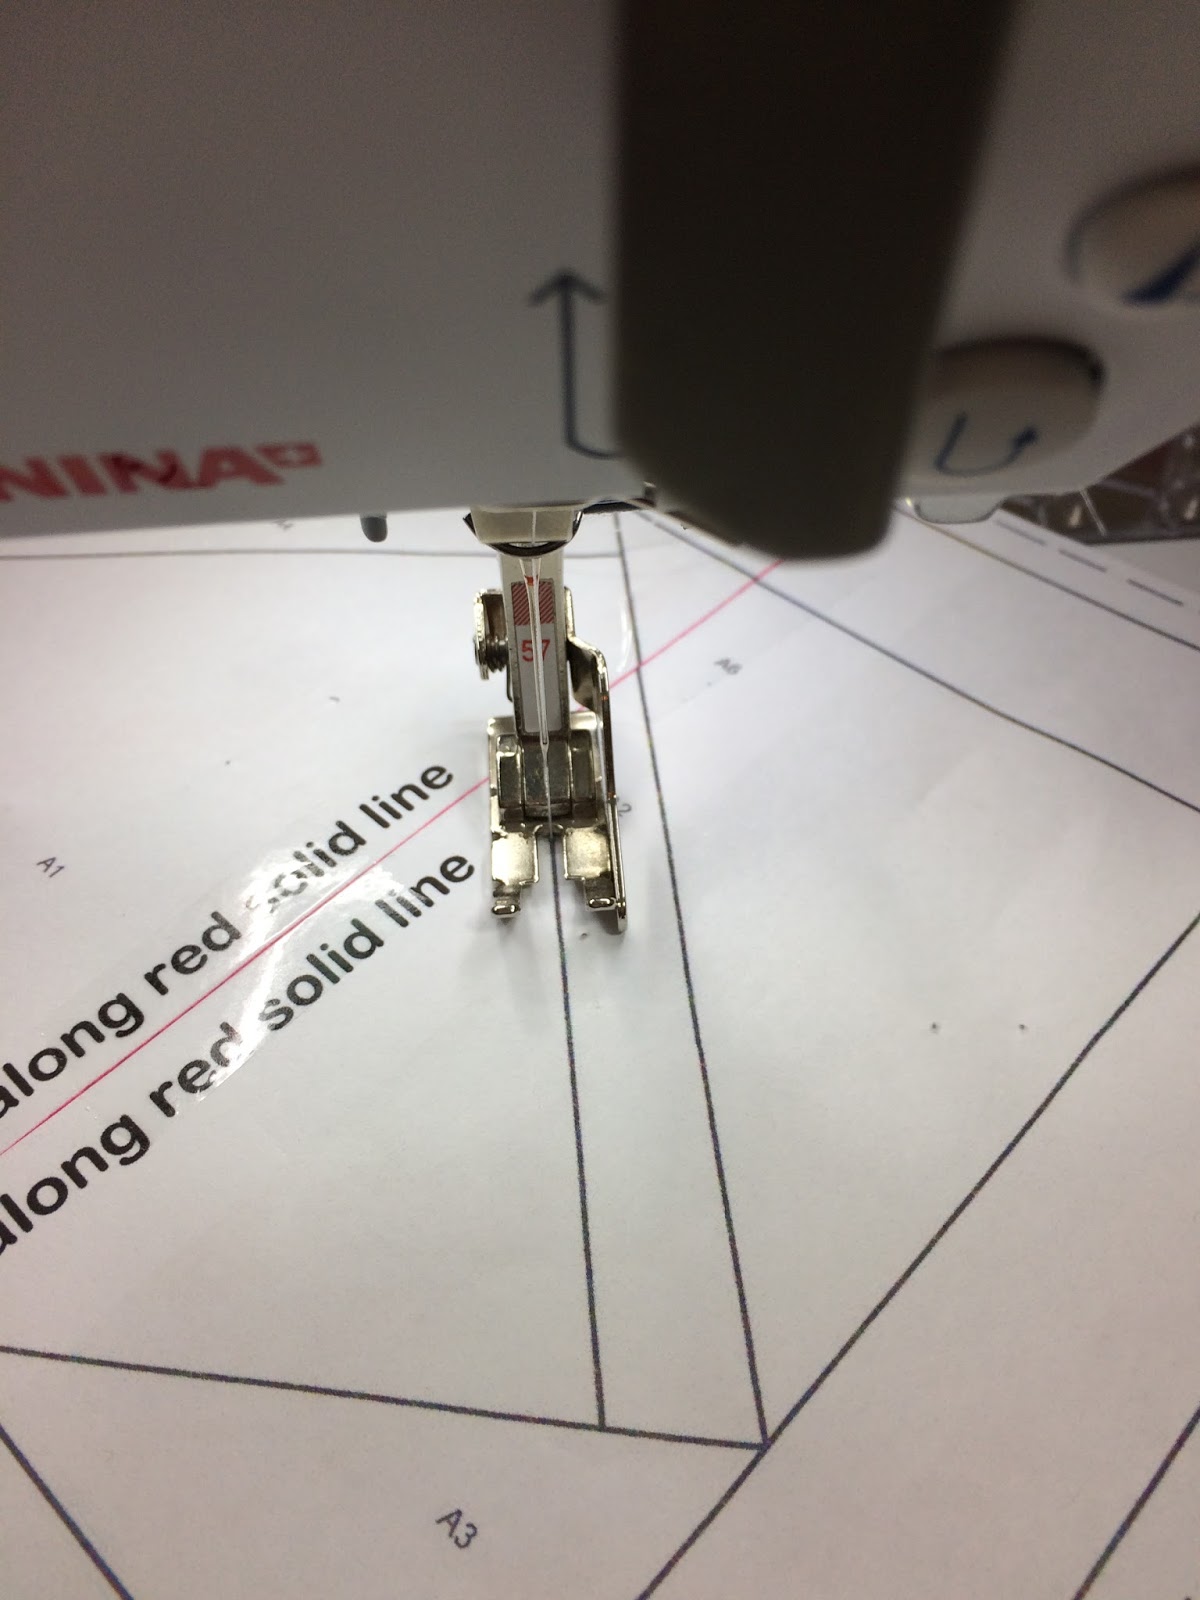
Begin sewing at the point where the line begins. You may wish to lower your needle with the hand wheel to ensure proper placement of the needle.
Sew to the end of the line and stop. Remove the sandwich from your machine and make sure it is sewn correctly.


Cut along the ruler edge to remove the excess fabric, leaving a 1/4" seam allowance.

Fold the paper back in place.


Press flat.

Repeat these steps for each section, following the section numbers in order: the seam between A1 and A3, then A4, A5, A6, A7 and A8.
Please use Kona White or Bella White for the borders - Sections A9, A10, A11, and A12.
Trim the blocks around the dotted line, but leave the paper on when you turn in your blocks.


hello
ReplyDelete